 Icefox ✦ Lab
ASEPRITE × AI AGENTS
Your AI Agent
in Aseprite.
Start with a reference. Repaint a detail. Keep native layers and frames editable in Aseprite.
Windows · Aseprite required separately · Model/API fees are separate

01 · EDITABLE LAYERED ANIMATION
Animate a character. Keep the layers.
Codex added casting-arm motion, a blink and starlight to this character: 128 × 128, eight editable frames, refined after feedback.
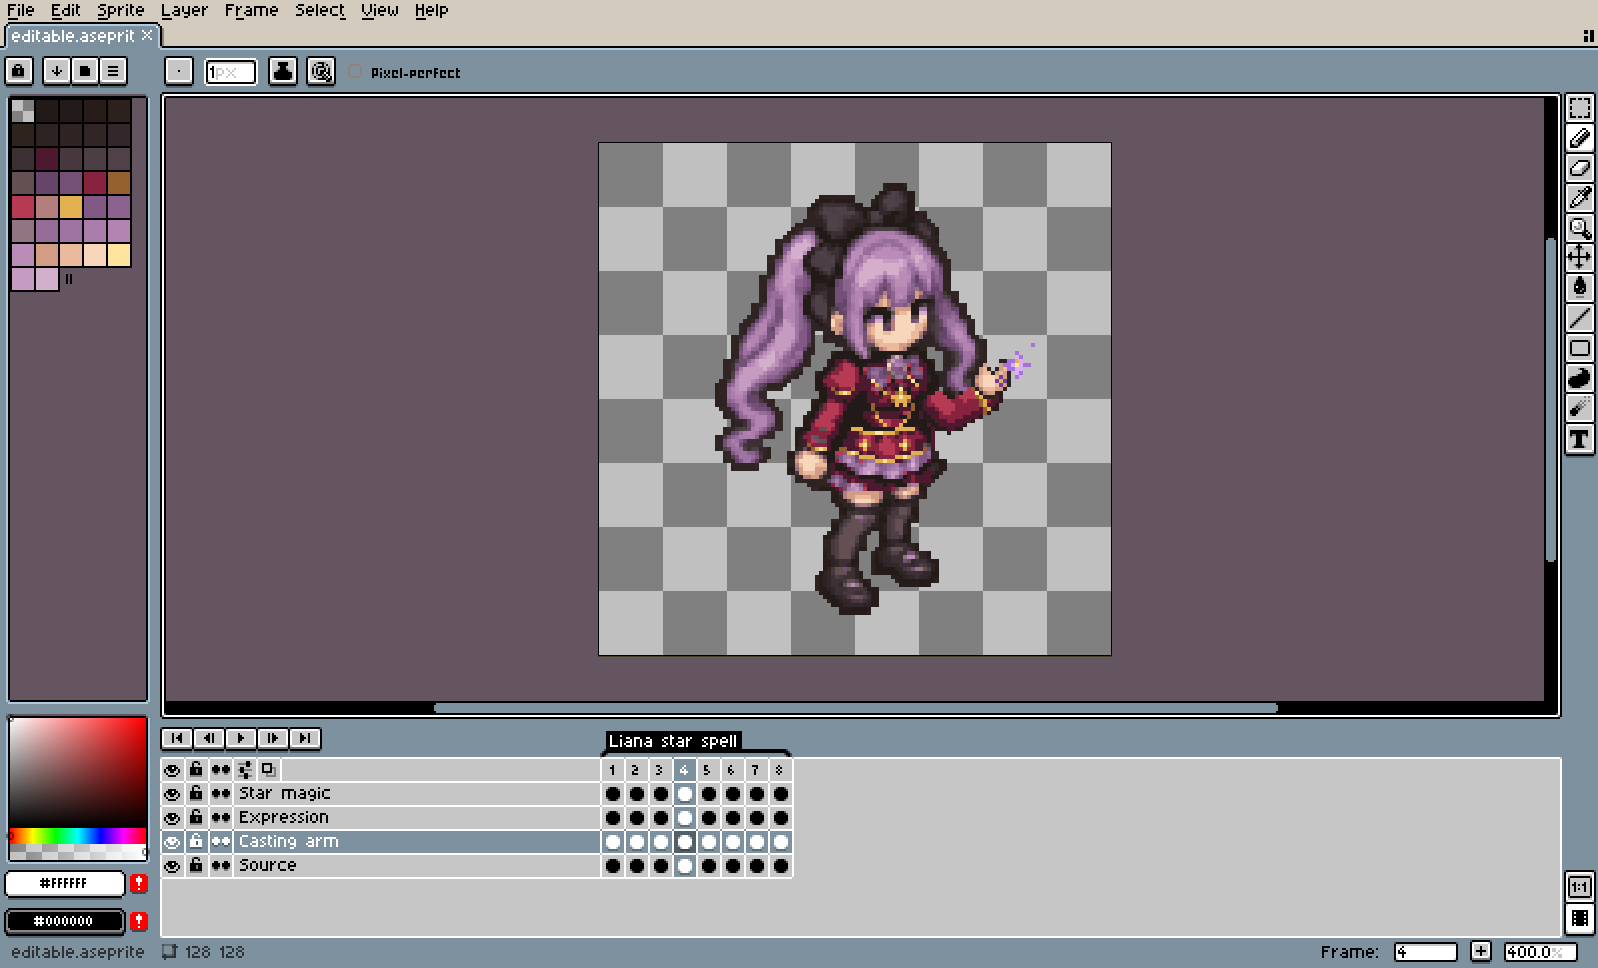
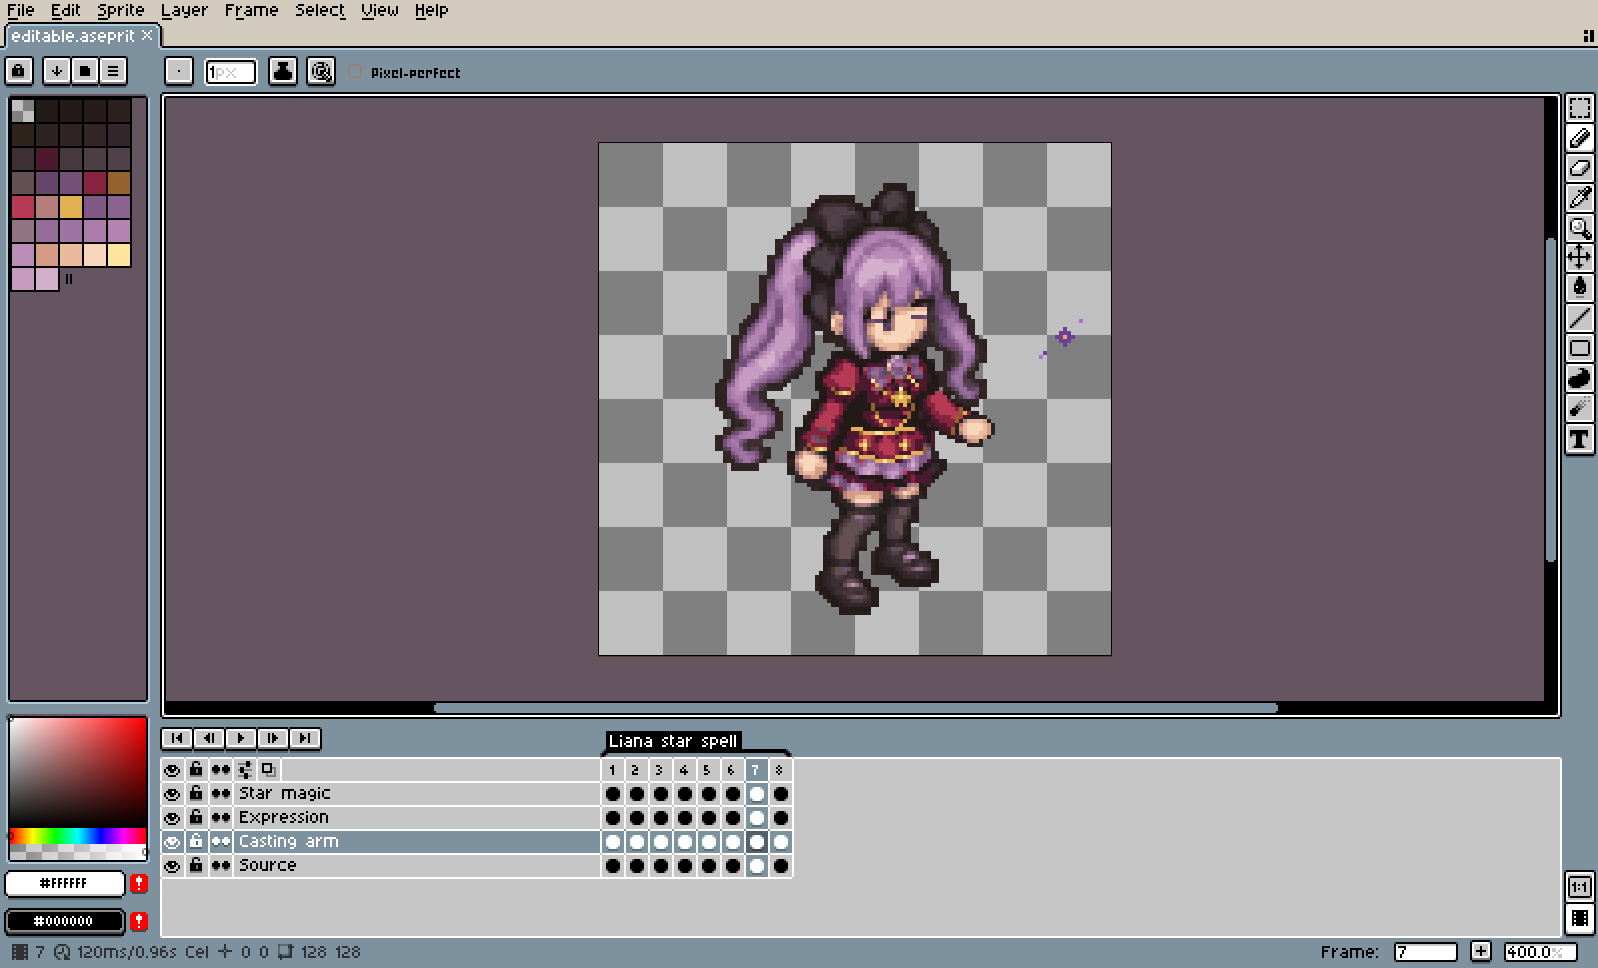
Keep the source, arm, expression and magic on four separate layers so you can inspect and revise each part.
Inspect individual frames
Inspect every frame
Choose a frame to inspect at 2× scale.

Frame 1 / 8 · 120 ms
02 · REFERENCE TO PIXELS
Bring a reference. Start in pixels.
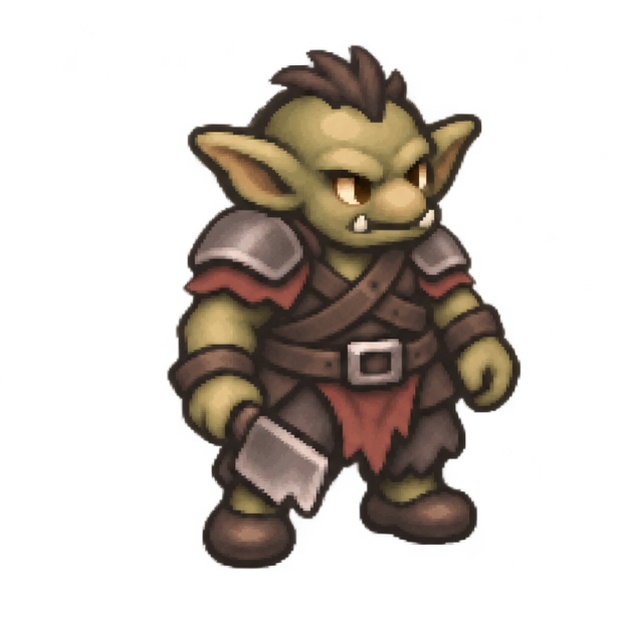
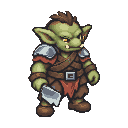
Give your Agent a reference and describe the result. Build an editable pixel-art starting point, then refine the details in Aseprite.
03 · SELECTION REDRAW
New outfit. Same sprite.


Select the part you want to change. Ask for a new color, a different silhouette, or a revised component within that editing area.
04 · MORE MOTION AND EFFECTS
More ways to make it move.

This animal action uses a joint sprite sheet with shared palette processing and frame review.

Go beyond human characters: carry an animal into new actions, then inspect and refine its editable frames.

Use a different path for effects: this portal was made with precise pixel tools. The included fire and healing examples also keep their pixels and timing editable.
More production paths help you work toward consistent pixel art and animation: if one method falls short, try another within your set limits.
These GIFs were exported from Aseprite. Review and refine the result before using it in your project.
ICEFOXPIXEL
One complete download.
IcefoxPixel-1.0.0.zip includes the extension, English and Chinese offline illustrated manuals, and editable examples, including nine cat-and-effects projects. Open START-HERE.html; ask your Agent to upgrade while preserving artwork and settings.
First 100 downloads free, subject to availability and terms on itch.io. Aseprite is required separately; model/API fees are separate.
Setup prompt and usage steps
Give the package to your agent, then copy this prompt
You provide the package or existing installation and copy the prompt. Your agent reads the local guides, runs the tools and prepares dependencies. An ordinary web chat alone cannot perform the local installation.
Use the IcefoxPixel extension package I provide or have already downloaded, or my existing installation. Read INSTALL.md and docs/ai-setup.md inside the package or installation folder yourself, then install the extension and connect the AI agent I am using through MCP.
Discover my existing Aseprite, prepare missing private runtime dependencies and configure the connection. Do not require me to install Python first, locate application folders, run installation scripts or hand-write settings, or make a full source checkout a prerequisite.
Preserve my artwork, settings, existing login and model choice. Preserve unsaved work before any restart. Finally, check the actual Aseprite instance and document read-only, and report what is complete and what remains unverified.
What your agent should complete
Give the extension package to your local agent
Download the complete ZIP from itch.io, extract it and open START-HERE.html. Give the package or its local path to an agent with computer access. You do not need to install Python manually, run scripts or obtain the source.
Let the agent prepare the environment
The agent discovers your existing Aseprite and usable runtimes, then chooses suitable folders. It reuses a working Python or prepares private CPython 3.11+ according to the guide. Python remains a bridge dependency; the agent handles it without changing system Python or the global PATH. The current automated installer targets Windows and requires Aseprite 1.3 stable or newer (API 21+).
Install the extension and connect your client
The agent preserves your artwork, settings, existing login and model choice, installs the extension, and prepares MCP configuration for Codex, Claude Code or DeepSeek Harness. If a restart or a new session is needed, unsaved work is preserved before loading the connection.
Verify the connection before creating
Have the agent discover the actual Aseprite instance and read the expected document, layers, frames and selection, then report what passed and what remains unverified. A generated config or an empty instance list alone does not mean setup is complete; model image access and creative edits need separate checks.
Already installed? In Edit → IcefoxPixel → Plugin settings → Let AI help me configure, copy the setup prompt and give it to your current agent.
Your first edit
Open and select
Open a normal RGB paint layer, select a layer and frame, and mark the edit area. Indexed-color documents, tilemaps and reference layers are not directly editable yet.
Describe the change
For example: “Inside the selection only, change the black dress to burgundy with gold motifs; keep the silhouette.” Reference tasks also need a local image and target dimensions.
Review and refine
Have the agent read the document and selection, create and preview candidates, then refine them. For animation, review each frame, the layers and the loop transition.
Apply to the canvas
The agent writes the result back to the original coordinates. Retouch in Aseprite or undo the batch in one step, then save the .aseprite project.
Clients and editing scope
- Codex
- Model calls and Aseprite canvas edits have been validated. The character examples here were made with Codex.
- Claude Code
- Standard MCP configuration and local protocol checks are provided. Model-driven drawing in the actual Claude Code client has not been tested.
- DeepSeek Harness
- Cordis configuration for the official MCP client and official-component compatibility checks are provided. Full Harness model-driven drawing is unverified. Image access depends on the version, image attachments and model capabilities; the old rc.5 build provides image placeholders only.
Currently targets Windows and Aseprite 1.3 stable or newer. Panel redraw and animation target 16–128 pixels per side; external agents can tile larger canvases. Direct editing supports normal RGB layers. Image candidates do not automatically reconstruct semantic parts or skeletons; complex occlusion and motion still need review.